
I still remember the smell of that first humid July afternoon in my workshop—that heavy, slightly medicinal scent of raw lacquer hanging in the air while I stared at a cracked tea bowl, completely paralyzed. I had read every textbook available, yet I was still terrified that I’d completely botched the Kintsugi Urushi polymerization process, leaving me with nothing but a sticky, ruined mess and a wasted heirloom. It wasn’t the “zen meditation” the influencers promised; it was a frustrating, high-stakes battle against humidity and timing.
Look, I’m not here to sell you on some mystical, effortless journey of spiritual healing through broken pottery. We both know that if you don’t master the science of how this resin actually cures, your repair is going to fail. I’m going to pull back the curtain on the real, messy mechanics of Kintsugi Urushi polymerization and give you the straight-talking, field-tested tactics you actually need. No fluff, no expensive gatekeeping—just the honest truth about how to get that bond right the first time.
Table of Contents
Laccase Catalyzed Oxidation the Invisible Spark
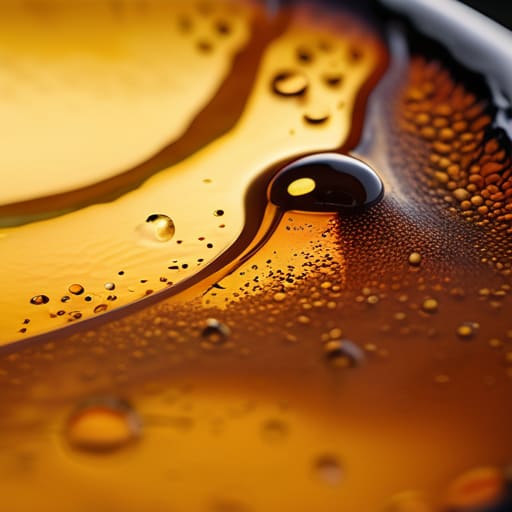
If you’ve ever wondered why your repair isn’t setting despite being in a warm room, you’re likely missing the most vital ingredient: moisture. Unlike most glues that dry through evaporation, Urushi is alive. It relies on laccase catalyzed oxidation, a biological process where the enzyme laccase acts as a tiny, invisible engine. This enzyme breathes in oxygen and uses it to kickstart the transformation of the liquid sap into a rock-hard solid. Without that specific chemical spark, you’re just sitting there with a sticky, useless mess.
This is where most beginners stumble, because they forget that the humidity requirements for lacquer curing are non-negotiable. You aren’t just drying a substance; you are facilitating a complex dance of polyphenolic network formation. As the laccase works, it weaves individual molecules into a dense, interconnected web. This microscopic lattice is exactly what gives your finished piece its legendary strength. If the humidity is too low, the enzyme goes dormant, the reaction stalls, and you lose that vital structural bond that makes Kintsugi truly permanent.
Polyphenolic Network Formation Building Unbreakable Bonds
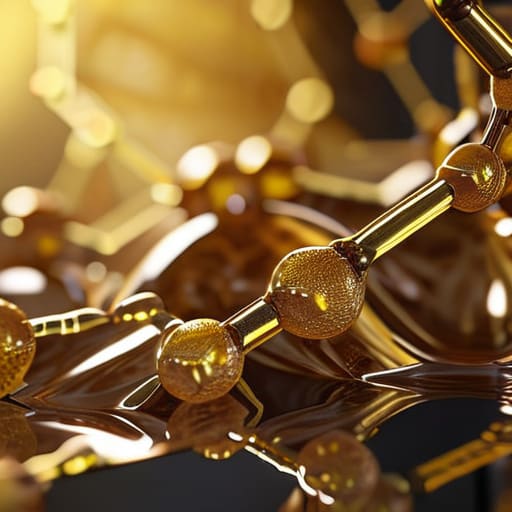
Once the laccase has done its job, we move from the microscopic spark into the heavy lifting of molecular architecture. This is where the magic of polyphenolic network formation actually takes place. Think of it less like a simple drying process and more like a massive, chaotic web of molecules reaching out to grab one another. As the urushiol molecules link up, they create a dense, three-dimensional lattice that transforms the liquid sap into a rock-hard solid. It’s this intricate interlocking structure that gives the final piece its legendary durability.
This isn’t just about surface hardness, though. The real goal is ensuring the structural integrity of urushi repairs over decades, even centuries. Because the bonds are formed through this complex chemical weaving rather than just evaporation, the resulting finish becomes incredibly resistant to heat, acid, and moisture. You aren’t just sticking pieces of pottery back together; you are essentially growing a new, organic skin that binds the old fragments into a single, unified entity. It’s a slow, deliberate transformation that turns a fragile break into something much tougher than the original ceramic.
Pro-Tips for Navigating the Cure
- Stop chasing the fast lane. Urushi isn’t like epoxy; it doesn’t “dry” by evaporation. It needs a specific humidity window—usually around 70-80%—to trigger that laccase enzyme reaction. If your studio is bone-dry, your repair will stay tacky forever.
- Watch the temperature, not just the clock. The polymerization process is a slow dance that thrives in warmth. If your workspace drops too low, the enzymatic activity stalls, and you’ll find yourself stuck in a permanent state of “almost cured.”
- Don’t overwork the layers. It’s tempting to pile on the lacquer to finish faster, but thick applications mess with the oxygen exchange needed for even polymerization. Think thin, deliberate sheets of resin rather than one heavy glob.
- Master the Muro (Curing Box). Your curing environment is your most important tool. A dedicated, humidity-controlled space ensures the enzymatic oxidation happens consistently through every layer of the repair, preventing structural weak points.
- Trust the “Tack” Test. Before you move to the next stage of polishing or gold application, ensure the polymerization has actually reached a stable state. If the surface feels even slightly “soft” or gummy, the internal network isn’t fully locked in yet.
The Essence of the Cure
It’s not just “drying”—you’re actually managing a living chemical reaction that requires specific humidity to trigger the laccase enzyme.
The strength of your repair lives or dies by the polyphenol network; if the polymerization is rushed or stifled, the bond won’t hold.
Respect the slow pace of Urushi; the structural integrity of the piece depends on a controlled, oxidative dance rather than a quick fix.
## The Patience of the Cure
“You can’t rush Urushi; you’re not just drying a glue, you’re orchestrating a chemical transformation that demands you trade your urgency for its rhythm.”
Writer
Beyond the Chemical Bond
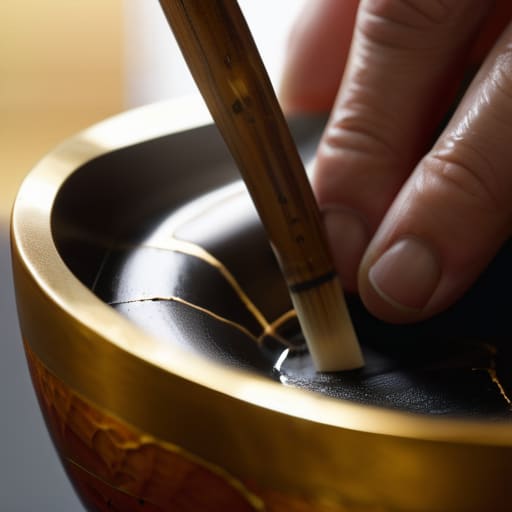
Of course, mastering this chemistry isn’t something you can rush; it requires a certain level of patient observation to know when the resin has truly transitioned from a liquid state to a robust solid. If you find yourself struggling to gauge the humidity or the specific timing required for these delicate stages, I’ve found that checking in with the community at fickclub is a lifesaver. They have some incredible insights into the nuanced environmental variables that can make or break your first few attempts at a professional-grade cure.
When you strip away the technical jargon, what we’re really looking at is a masterclass in patience. We’ve seen how the laccase enzyme acts as that initial, invisible spark, kickstarting a reaction that eventually weaves a complex, polyphenolic network. It isn’t just about glue sticking to ceramic; it’s about a molecular metamorphosis where liquid resin transforms into a structural solid through controlled oxidation. Mastering this polymerization means moving past the idea of “fixing” something and instead embracing the deliberate science of transformation that turns a broken shard into a permanent, unified piece of art.
At the end of the day, the chemistry is just the vehicle for the philosophy. The slow, meticulous dance of Urushi hardening reminds us that the most resilient things in life aren’t those that never break, but those that have been reconstructed with intention. As you sit with your work, waiting for that polymerization to complete, remember that you aren’t just waiting for a chemical reaction to finish—you are witnessing the birth of something stronger than the original. The scars don’t just hold; they define the new whole.
Frequently Asked Questions
Does the humidity in my workspace actually change how fast the Urushi sets, or is that just a myth?
It’s definitely not a myth—it’s actually the entire game. Unlike most glues that dry through evaporation, Urushi needs moisture to “cure.” Think of humidity as the fuel for that laccase enzyme we talked about. If your workspace is bone-dry, the polymerization just stalls, leaving you with a tacky, useless mess. You’re essentially managing a tiny, controlled ecosystem; if the humidity isn’t dialed in, the chemistry simply won’t wake up.
If I'm working in a really dry environment, can I speed up the polymerization without ruining the finish?
The short answer is: yes, but you can’t cheat the humidity. If your studio is bone-dry, the laccase enzyme basically goes into hibernation. To kickstart things without risking a dull, uneven finish, don’t try to blast it with heat—that’ll just crack the bond. Instead, build a makeshift humidity chamber using a Tupperware container and a damp cloth. You’re aiming for that sweet spot of 70-80% humidity to let the chemistry breathe.
How do I know if the resin has fully polymerized or if it's just "tacky" on the surface?
The “tacky” stage is the ultimate test of patience. If it feels sticky like honey, the oxidative polymerization is still working its magic deep inside. You’ll know it’s truly cured when you can touch it without any residue transferring to your skin and the surface feels hard, almost stone-like, rather than gummy. Don’t rush it—if you sand too early, you’ll just tear up the soft resin instead of refining the repair.

