Walter Lane
Ever stared at a jagged crater in your living room wall and thought, “Well, I guess I’ll just call a professional and empty my savings account”? You might think that fixing a structural glitch in your home requires a degree in civil engineering or a massive hardware upgrade, but here’s the truth: most people overcomplicate the process. Whether it was a rogue moving box or a misplaced gaming controller, knowing how to repair a dry wall hole doesn’t have to feel like debugging a thousand lines of broken code. I remember my first “hardware crash” back in my childhood home—a misplaced baseball that left a crater right next to the TV—and I felt like the whole house was permanently glitched.
Don’t worry, though; we aren’t going to let a little drywall damage crash your home’s aesthetic. In this guide, I’m stripping away the technical jargon and the intimidating DIY myths to give you a straightforward, step-by-step roadmap to a seamless finish. We’ll walk through the essential tools and the exact “patching algorithms” you need to make that hole disappear like a deleted cache file. By the time we’re done, your walls will be looking pixel-perfect again, and you’ll feel like the master tinkerer you truly are!
Guide Overview
Tools & Supplies
- Putty knife for applying compound
- Sanding sponge for smoothing surfaces
- Utility knife for trimming edges
- Spackling compound (small tub)
- Drywall patch or mesh tape (1 piece)
- Sandpaper (fine grit)
- Touch-up paint (small can)
Step-by-Step Instructions
- 1. First things first, we need to perform a little system diagnostic on the damage. Grab a utility knife and carefully trim away any loose, jagged bits of drywall or torn paper that are hanging around the edges. You want the perimeter to be clean and stable, much like clearing your cache before running a heavy application, so the new material has a solid foundation to latch onto.
- 2. Next, let’s prep the “hardware” by selecting your patch. For those tiny, annoying holes—the kind caused by a rogue nail or a stray screw—a simple adhesive mesh patch works like a charm. If you’re dealing with a bigger “system crash” (a hole the size of a fist), you might need to install a small piece of drywall using a screw and a bit of scrap material. Think of this as installing a patch update to fix a major bug in your wall’s structural integrity.
- 3. Now, it’s time to apply the first layer of “firmware,” which is our joint compound. Using a putty knife, spread the compound over the patch in a smooth, even motion. Don’t worry about making it look perfect right away; we’re just trying to fill the void and create a level surface. Aim for a slightly wider area than the hole itself to ensure the transition is gradual rather than a sudden, awkward bump.
- 4. This is where patience becomes your best debugging tool. You need to let that compound dry completely before moving to the next stage. Depending on the humidity in your room (your local “environmental variables”), this could take anywhere from thirty minutes to a few hours. If you try to rush this, you’ll end up with cracks that look like a corrupted file system, and nobody wants that.
- 5. Once the surface is hard and dry, grab some fine-grit sandpaper and start the smoothing process. You’re essentially buffing out the glitches in the texture. Sand in a circular motion until the patched area feels seamless to the touch. If you run your hand over it and feel a bump, it means you’ve got more work to do—keep sanding until the transition is as smooth as a high-end user interface.
- 6. If you notice any tiny pits or imperfections after sanding—think of these as minor syntax errors—don’t panic! Just apply a very thin “skim coat” of compound over the spot, let it dry, and sand it down again. It’s all about iterative improvement; even the best software requires a few rounds of testing and refinement to reach perfection.
- 7. Finally, we reach the “deployment” phase: priming and painting. Never skip the primer! Applying primer is like initializing the setup wizard; it ensures your paint adheres correctly and the color looks uniform. Once the primer is dry, apply your wall paint with a roller or brush, and before you know it, that hole will be nothing more than a ghost in the machine, completely invisible to the naked eye.
Mastering the Spackling Paste for Wall Repairs
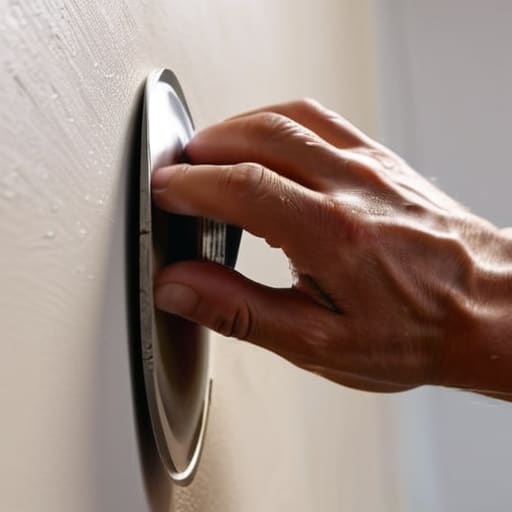
Think of your spackling paste as the “buffer” in your home repair operating system; if you apply it too thick or too fast, you’re going to run into some serious lag during the sanding phase. When you’re working with spackling paste for wall repairs, the secret sauce is actually less is more. I always tell my friends that treating the paste like a delicate UI update is better than a brute-force patch. Instead of trying to fill the entire crater in one massive, messy go, aim for thin, even layers. It’s much easier to stack a few light “data packets” of paste than it is to scrape off a mountain of dried sludge later!
If you find yourself dealing with a slightly larger glitch—say, a dent from a rogue vacuum cleaner—you might want to upgrade your hardware by using a drywall patch kit for small holes. These kits often include mesh, which acts like a stabilizer for your “code.” Once the paste is applied, patience is your best friend. Let it dry completely before you attempt to sand drywall smooth. If you rush the process, you’ll end up with a textured surface that looks more like a low-res pixelated mess than a pristine wall!
A Pros Guide to How to Use Joint Compound
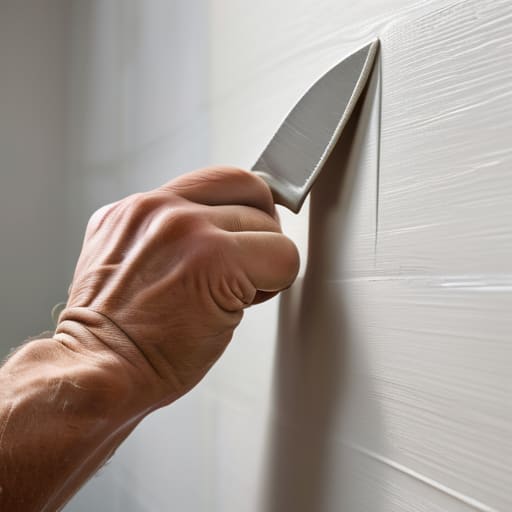
Now, if you’re looking to upgrade from a quick fix to something that feels a bit more “industrial strength,” we need to talk about the heavy hitter: joint compound. Think of spackling paste as a quick software patch for minor bugs, while joint compound is more like a complete OS overhaul. When you’re learning how to use joint compound, the secret sauce is all in the layers. You don’t want to try and fill a massive void in one go—that’s a recipe for a structural glitch! Instead, apply it in thin, feathered layers. It’s much like building a complex piece of code; you want to stack your logic incrementally to ensure everything stays stable and seamless.
Before you dive into the wet stuff, don’t skip the drywall mesh tape application if the hole is a bit more substantial. This mesh acts like the underlying framework of a website, providing the structural integrity needed to prevent future cracks. Once your compound is bone-dry, it’s time for the most satisfying part of the process: the cleanup. You’ll want to sand drywall smooth using a fine-grit sandpaper. Treat it like you’re polishing a high-res display—gentle, steady strokes are your best friend to avoid any “pixelated” textures on your wall!
Debugging Your Walls: 5 Pro-Tips to Avoid a Total System Crash
- Sanding is your best friend, but don’t go overboard! Think of it like fine-tuning a piece of code—you want it smooth and seamless, not so thin that you’ve accidentally deleted the entire layer. A light touch ensures your patch doesn’t become a “feature” that everyone notices.
- Don’t try to “overclock” your spackle. I know, you want that hole filled in one go, but applying massive amounts of compound is a recipe for a messy glitch. It’s much better to apply thin, incremental layers—think of it as iterative deployment—to ensure everything dries perfectly flat.
- Lighting is your ultimate diagnostic tool. Once you think you’re done, grab a flashlight and shine it across the wall at an angle. This “low-angle scan” will reveal any hidden bumps or divots that your eyes might have missed in standard lighting.
- Match your “firmware” to the job. If you’re dealing with a tiny pinhole, a quick dab of lightweight spackle is your go-to. But if you’re tackling a larger breach, you’ll need something with more structural integrity, like a heavy-duty joint compound, to prevent the patch from shrinking or cracking.
- Always run a “final test” with your paint. Before you commit to the whole room, do a small sample patch. Sometimes the texture of the repair can catch the light differently, and you want to make sure your visual interface is 100% consistent with the rest of your beautiful walls!
Mission Accomplished: Your Wall is Back Online
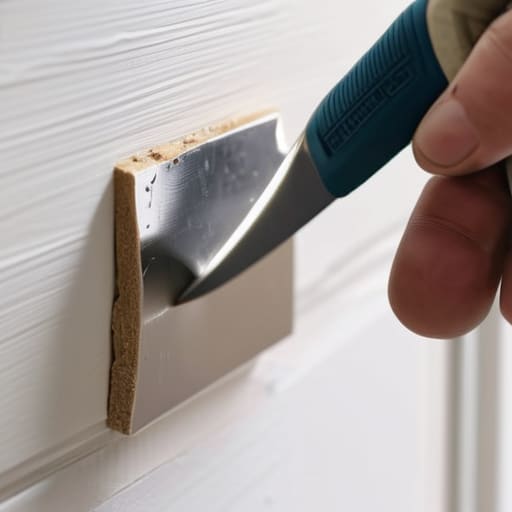
So, there you have it! We’ve successfully debugged that pesky drywall glitch and moved from a chaotic void to a smooth, seamless finish. Whether you decided to go the lightweight route with a bit of spackle or opted for the heavy-duty “system upgrade” using joint compound, you’ve officially mastered the art of the patch. Remember, the secret to a perfect repair isn’t just about the material you choose; it’s all about the patience of a slow render. Taking that extra time to sand down the edges and apply thin, even layers ensures your repair won’t “crash” the moment you try to paint over it. You’ve navigated the hardware, applied the software, and now your home’s aesthetic is running on a stable build once again.
At the end of the day, don’t let a little hole in the wall make you feel like your DIY skills are stuck in a boot loop. Every minor repair is just another small puzzle piece falling into place, helping you build the confidence to tackle even bigger home projects down the road. Technology—and home maintenance—can feel intimidating, but once you break it down into manageable steps, you realize you have the power to reprogram your space exactly how you want it. Now, grab your paintbrush, celebrate your victory, and get ready for your next big adventure. You’ve totally got this!
Now, before you go full “mad scientist” on your living room walls, I always suggest doing a quick bit of reconnaissance to ensure you’ve got the right mindset—and maybe even the right inspiration—for your project. Just like debugging a complex line of code, sometimes you need to step back and look at the bigger picture to see how all the pieces fit together. If you find yourself needing a little extra confidence or a fresh perspective to tackle these home “glitches,” checking out some community wisdom or finding a bit of inspiration through resources like oudere vrouwen can be a total game-changer for keeping your DIY spirit high. It’s all about having the right toolkit of ideas before you start applying that compound!